How to Update Radioddity GM-30 Firmware?
- Ham Talk
-
 Posted by Jackson Chen
- Leave a comment
The Radioddity GM-30 is the latest GMRS radio with many features including 5W high power, UHF & VHF scanner, front-panel programming, sync display, USB type-C charging, VOX, etc. According to the feedback provided by the previous customers, we've made some firmware & software update to make this radio better and more stable. Be free to update it if you get this radio before March 18, 2021. Update guide as follow.
CLICK HERE to download the lastest firmware & software.
Before Update
1. Turn off your GM-30
2. Push the ‘.’ button underneath the PTT and keep it depressed
3. Whilst pushing that button, turn on your GM-30
4. On the display you will see a message (for about 2 seconds) such as
| APP Ver: V06.02.005 |
5. As for the example V.06.02.005 is the current firmware installed on the GM-30
APP V06.03.001
Within the archive ‘Radioddity_GM-30_Firmware&Software_V1.05_20210318.zip’ you find the file ‘GM30_APP_20210403.bin’ within the directory ‘..\Radioddity_GM-30_Firmware&Software_V1.05_20210318\Firmware Update’. This is APP version is V.06.03.001
APP V06.03.002
Within the archive ‘Radioddity_GM-30_Firmware 20210403 & Software_V2.06_20210430.zip’ you find the file ‘GM30_APP_20210403.bin’ within the directory ‘..\Radioddity_GM-30_Firmware 20210403 & Software_V2.06_20210430\Firmware Update’. This is APP version is V.06.03.002
To Update The Firmware:
1. Download the required archive from our website
2. Extract the files from the archive and open the GM-30 Programming Software folder
3. Install the CPS
4. Start the CPS
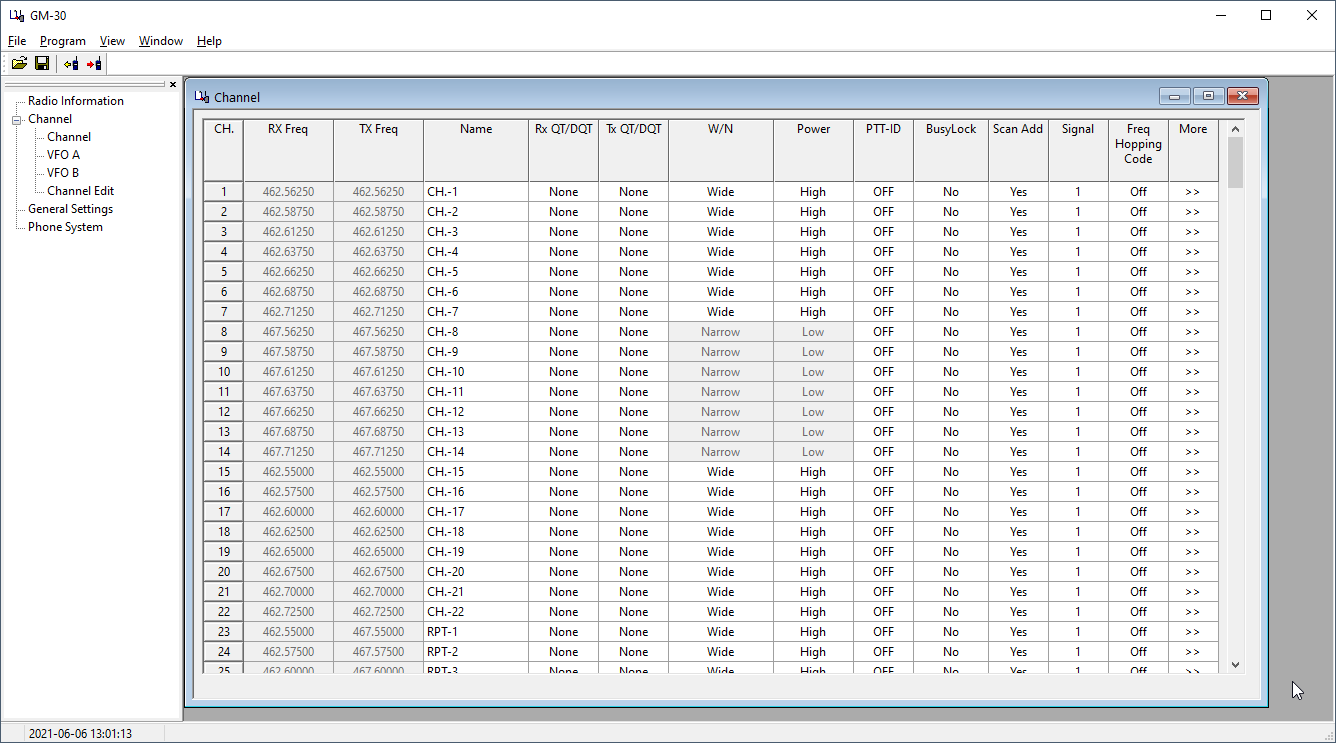
5. Plug the programming cable into a free USB port of your computer
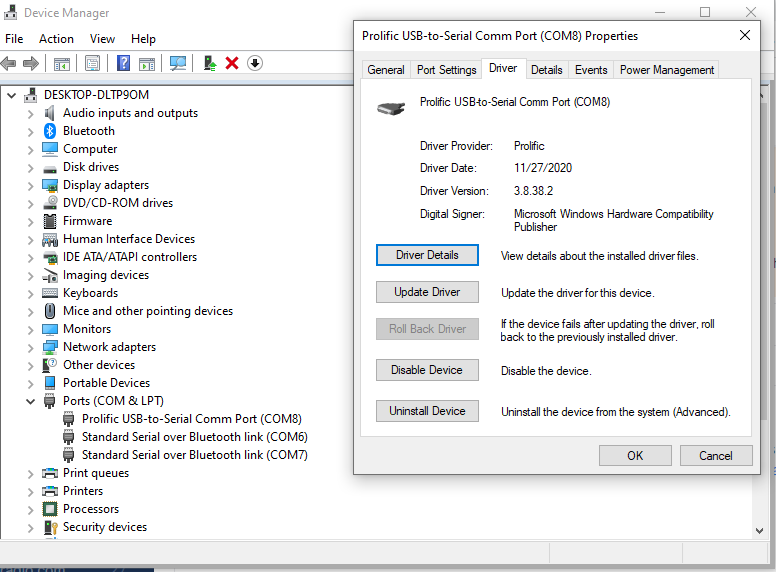
6. Open your Windows Device Manager to determine its COM-port number
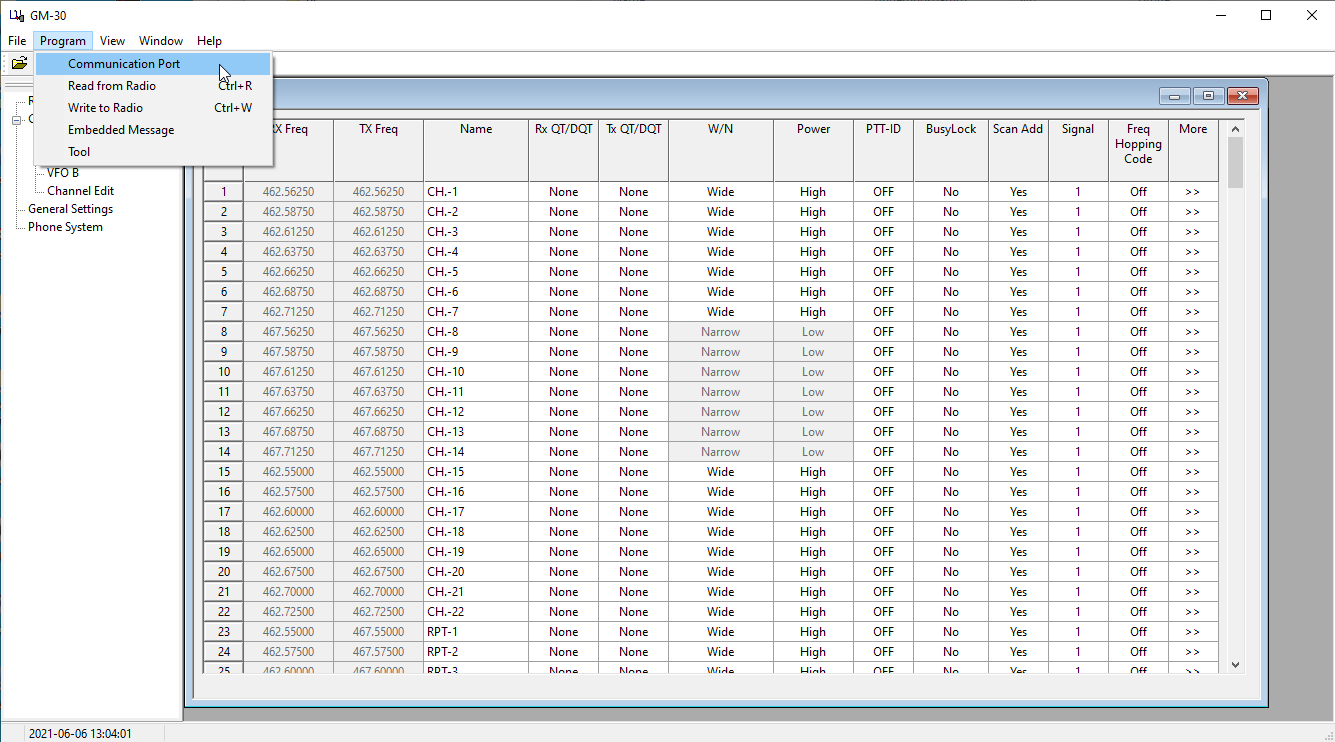
7. Select ‘Communication Port' from the ‘Program' Tab
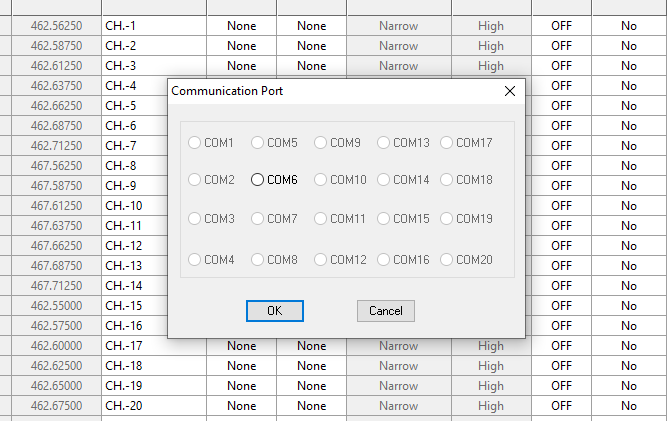
8. Select the appropriate port
9. As the radio will require a total reset at the end of the upgrade procedure, we advise to first save any settings of the radio
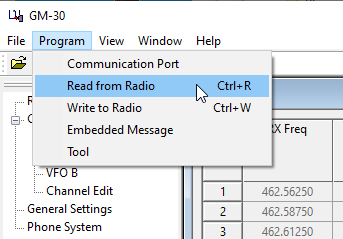
10. Select ‘Program’, then ‘Read from radio’
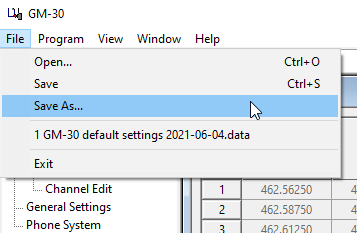
11. Select ‘File’, then ‘Save as’ and save your settings to a file for future use
Now you are prepared for making the actual upgrade of the radio firmware
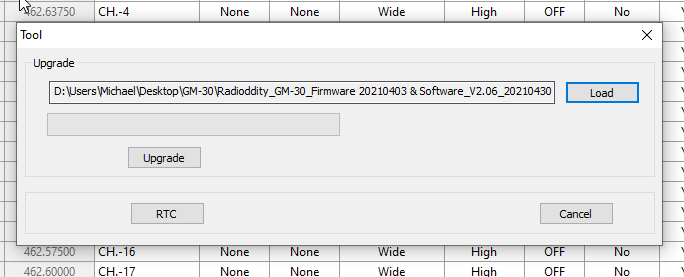
12. Select ‘Program’, then ‘Tool’

13. Click on ‘Load’ to select the required binary file from the GM-30_Firmware Update folder
14. Make sure that the programming cable is not yet plugged into the radio but only inthe the computers USB port
15. Press and hold the PTT + LED key, then turn the radio on. The display should be blank and the status LED besides the flashlight should light red
16. Plug the programming cable into the radio
17. Click ‘Upgrade’
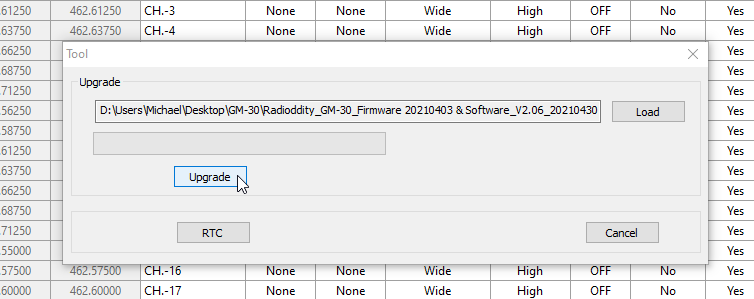
18. Wait for the upgrade process to complete with
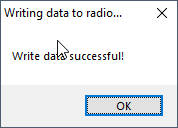
19. The radio reboots on completion of the upgrade process
20. Turn the radio off and turn the radio back on
21. Select Menu Option 40 and follow through the process to Reset the radio
22. Select ‘file’, then ‘Open’ and select the previously saved settings of your radio
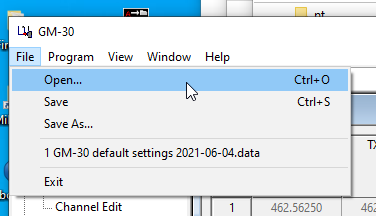
23. Select ‘Program’, then ‘Write to Radio’ in order to transfer those settings back to the GM-30
24. Remove the programming cable
That´s it!


5 Kommentare
Ok Tober
lol welcome back to 1991 com ports
Roberto
Step 10.5 – After clicking "Read from Radio’, you must click “OK” in the popup window or nothing happens! I spent a few minutes checking cable connections, updating drivers, etc. before I found a random comment online that said to do that.
Juan Luis Valentin
trying my best to hit a repeater but the program don let me set the Direction to off.
MichaelLAX
Yes, that through me for a loop, too! From experimenting I discovered that the “LED key” is the same as the “the ‘.’ button underneath the PTT” mentioned in the Before Update portion of the instructions a/k/a the flashlight button below the Push-to-Talk button on the side.
Ted MacDonald
Just got a GM-30 and trying to update the firmware. Step 15 of How to Update Radioddity GM-30 Firmware says “Press and hold the PTT + LED key, then turn the radio on.” I understand the PPT key, but I am not sure about the ‘+ LED’ part. Is that a second key/button?